
4.2. Adding product data
4.2.1. Creating a new category
If you intend to have a 'shop by category / shop by brand' option, then you should start with just two top level categories (one for each) and nest everything else inside those. Remember that products can have multiple parent categories, so any product can be in both sections (or subcategories within them).
To add a new top level category, go to 'Products > Add New Category'.
Alternatively, you can list the top level categories with the 'categories' icon next to the home button on the left hand menu, then click the 'new' link to the top right of this page. If you want to create subcategories, navigate to the parent category where you want to place the subcategory, and then click the 'new' link. This will pre-fill the 'parent' category into the form.
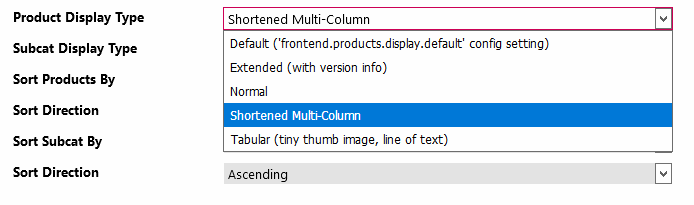
4.2.1.1. Product display type
There are several options for how to format product appearance on the front end of the site in the listings. You can set this globally (for products that are set to use the global default) using the frontend.products.display.default config setting or override it at category level, which will apply to all the products displayed within that category.
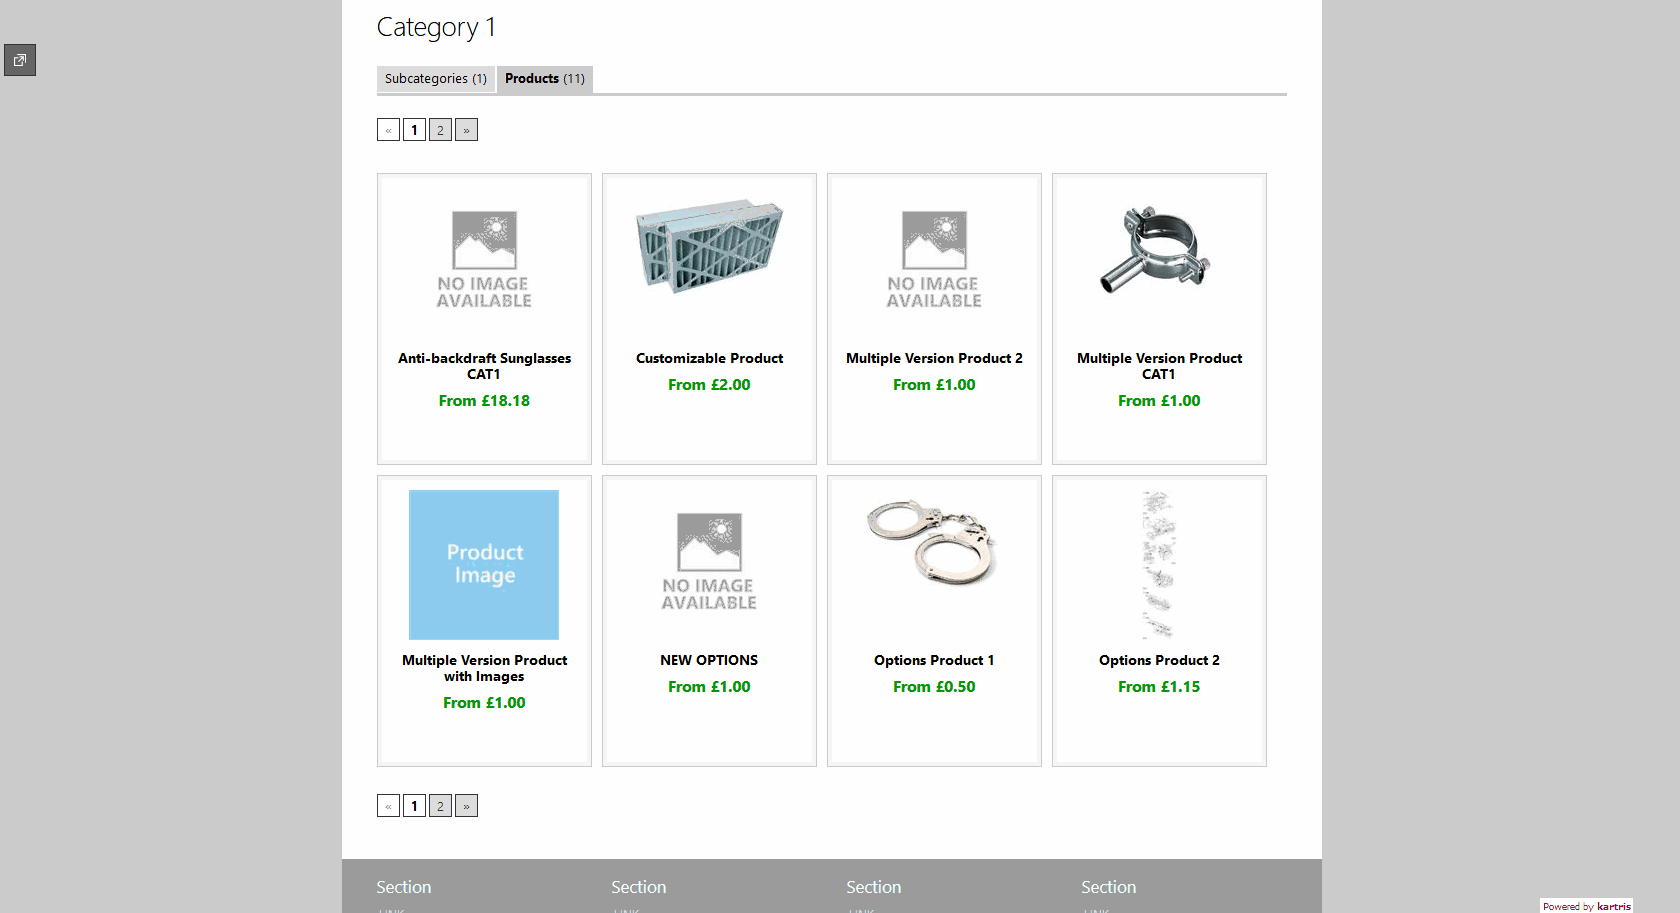
4.2.1.1.1. Shortened multi-column
This formats products into a box, typically several per row, featuring a product image, the product name and 'from' pricing (if turned on).
The template used:
/UserControls/Templates/ProductTemplateShortened.ascx
CSS class:
.products_shortened (located in sections.css)
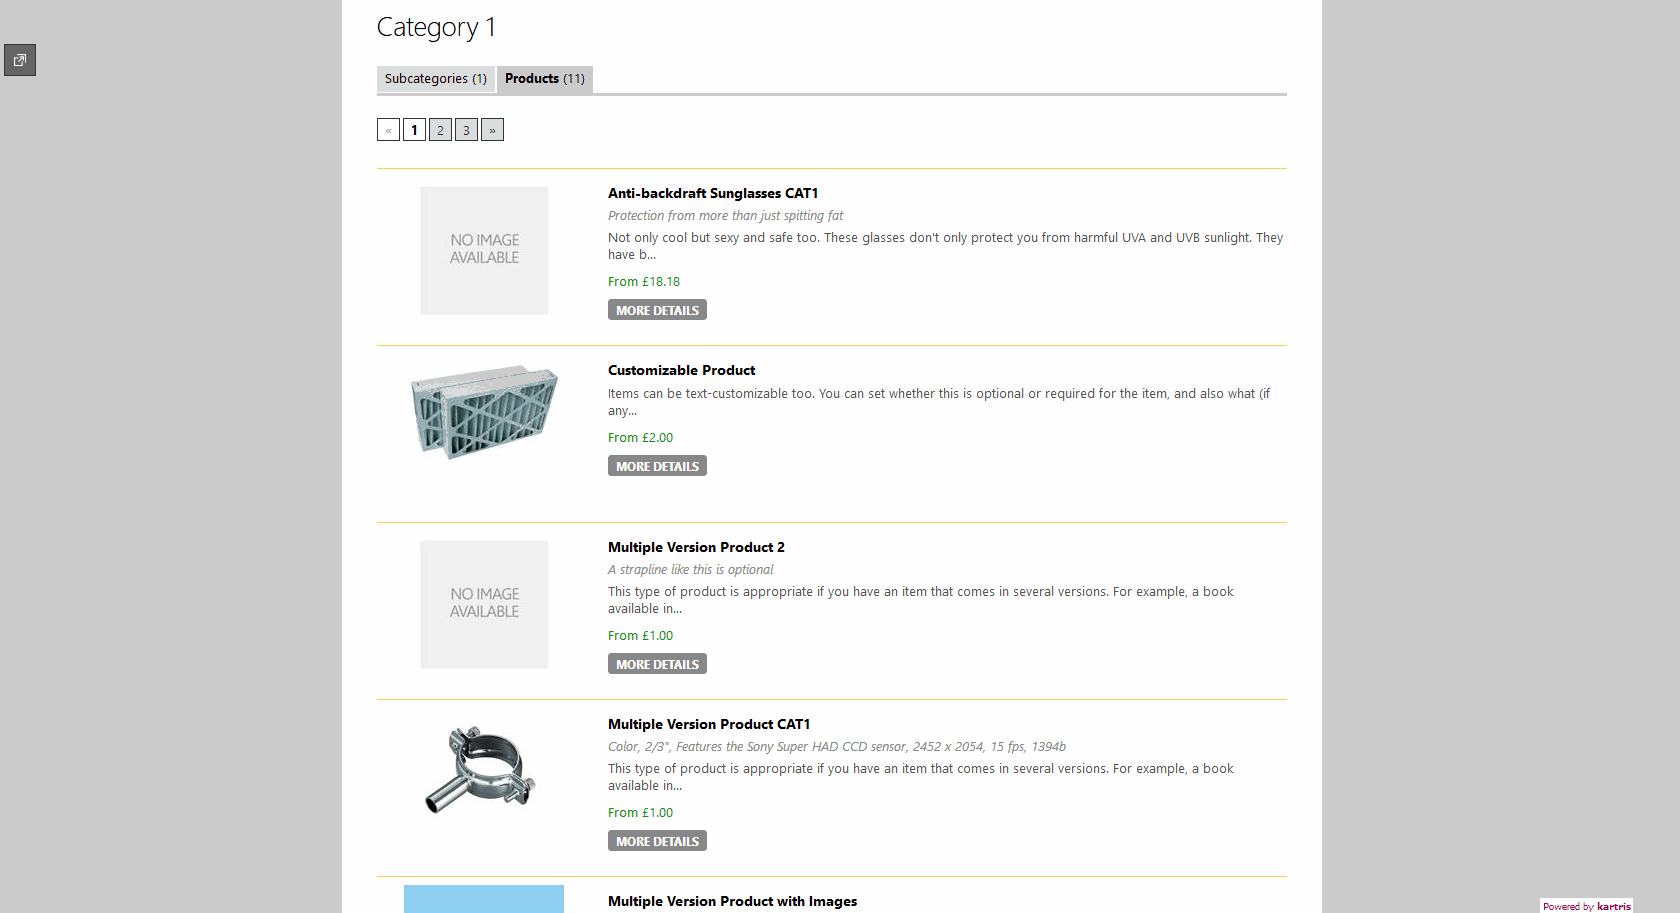
4.2.1.1.2. Normal
This formats products one per row, with an image, product name and truncated description, plus the 'from' price (if turned on).
The template used:
/UserControls/Templates/ProductTemplateNormal.ascx
CSS class:
.products_normal (located in sections.css)
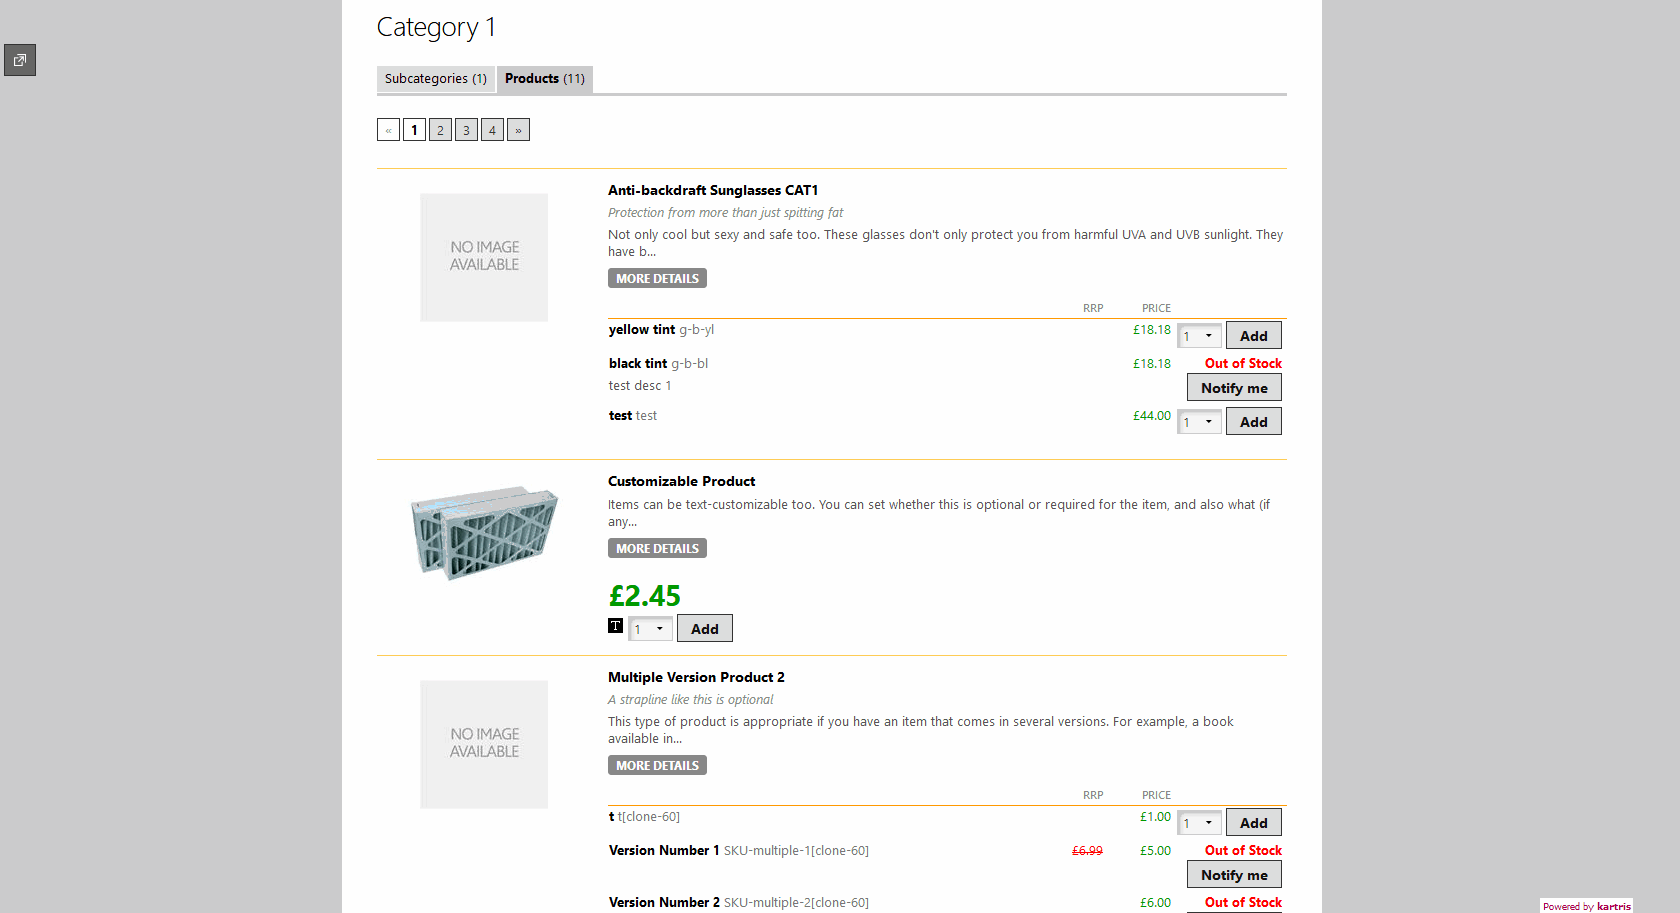
4.2.1.1.3. Extended
This formats products similarly to 'Normal', but also includes their versions, so pricing can be seen and items added to the basket directly from the product listings, without having to click through to the product page itself. Any type of product - single version, multiple version or options - can be displayed in this way, including different types on the same page. 'Out of stock', text-customization and other version features all work exactly as they would on the product page itself.
The template used:
/UserControls/Templates/ProductTemplateExtended.ascx
CSS class:
.products_extended (located in sections.css)
4.2.1.1.4. Tabular
This is similar in terms of content and structure to 'Shortened multi-column', though has a different control and CSS class, allowing for different formatting if desired.
The template used:
/UserControls/Templates/ProductTemplateTabular.ascx
CSS class:
.products_tabular (located in sections.css)
4.2.1.1.5. Number of products per page
You can set the number of products per page for each type of product display from the following config settings:
frontend.products.display.extended.pagesize
frontend.products.display.normal.pagesize
frontend.products.display.shortened.pagesize
frontend.products.display.tabular.pagesize
frontend.search.pagesize
4.2.2. Creating a new product
Then you can either go to 'Products > Add New Product', or you can click the 'New' link next to the products section in a category view. This will bring up the product editor page.
4.2.2.1. Category parent
Kartris supports multiple category parents. You can use the same process to add further categories. All the categories that a product belongs to will be listed in the multiple dropdown.
To remove a category from being a parent of this product, simply highlight it in the multiple dropdown list and click the 'Remove selected' link.
These product-category relationships will only be saved when the product is updated/created with the 'Save' button.