
8.4. Site menus
Links to custom pages will not automatically appear on the web site. You must add them to menus manually, or create links in your skin to them.
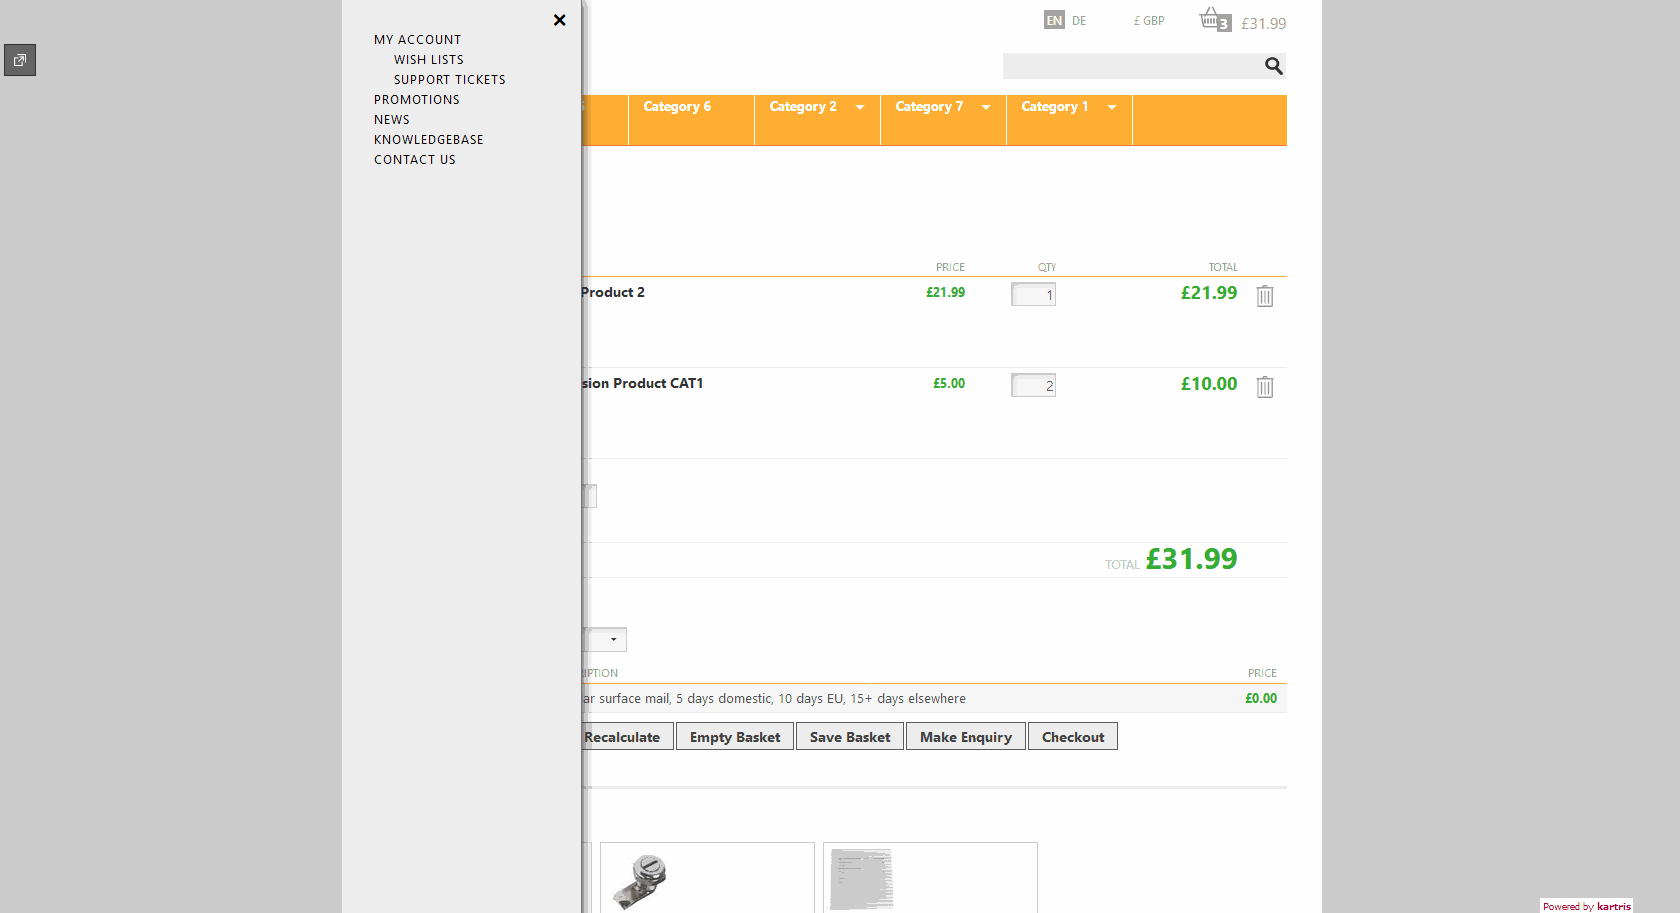
If you look at our demo, you will see a light grey coloured menu which is triggered by the hamburger button (top left of page). The content for this comes from the web_menu.sitemap file which is in the root of Kartris. You can edit this XML file manually to create the menu structure you require.
Kartris will probably need to be restarted for changes to take effect.
We strongly recommend you back up the web_menu.sitemap file before modifying it. When modifying it, take careful note of the structure of tags, and whether a tag is self-closing or not. If you have two or more links to the same page, ASP.NET may generate an error because they are not unique. You can overcome this by appending an unused parameter to the URL, for example ?x=1, ?x=2, etc.
You can also add Hyperlink controls to the .master file to provide links to your custom pages, such as those we have in the footer. We recommend using ASP.NET Hyperlink controls rather than standard HTML <a> tags, because URLs can be specified relative to the app root using the ~/t-Sample.aspx format. These will work correctly from any friendly URL page, and whether the site is running in a subfolder of localhost, or on the root of a fully-qualified domain.
8.4.1. XML structure
The default web_menu.sitemap file code looks like this:
<?xml version="1.0" encoding="utf-8" ?>
<siteMap xmlns="http://schemas.microsoft.com/AspNet/SiteMap-File-1.0" enableLocalization="true" >
	<siteMapNode url="~/Default.aspx" title="$resources:Kartris,ContentText_Home"  description="$resources:Kartris,ContentText_Home"  >

		<siteMapNode url="~/Customer.aspx" title="$resources:Kartris,PageTitle_MyAccount"  description="$resources:Kartris,PageTitle_MyAccount" value="myaccount">
			<siteMapNode url="~/Wishlist.aspx" title="$resources:Kartris,PageTitle_WishListLogin"  description="$resources:Kartris,PageTitle_WishListLogin" value="wishlist" />
			<siteMapNode url="~/CustomerTickets.aspx?" title="$resources:Tickets,PageTitle_SupportTickets"  description="$resources:Tickets,PageTitle_SupportTickets" value="supporttickets" />
		</siteMapNode>

		<siteMapNode url="~/News.aspx" title="$resources:News,PageTitle_SiteNews"  description="$resources:News,PageTitle_SiteNews" value="news" />

		<siteMapNode url="~/Knowledgebase.aspx" title="$resources:Knowledgebase,PageTitle_Knowledgebase"  description="$resources:Knowledgebase,PageTitle_Knowledgebase" value="knowledgebase" />

		<siteMapNode url="~/Contact.aspx" title="$resources:Kartris,PageTitle_ContactUs"  description="$resources:Kartris,PageTitle_ContactUs" />

		</siteMapNode>
</siteMap>
Note carefully the structure; siteMapNodes with children such as ~/Customer.aspx are not self-closing - they have a separate close tag after the children. Child nodes like ~/Wishlist.aspx are self-closing (they have a / before the closing of the tag).
The $resources refer to language strings (see @15.2. Language strings). If your site only uses a single language, you can add links that have hardcoded text instead of references to language strings, for example:
<siteMapNode url="~/MyPage.aspx" title="MyPageTitle" description="Title of My Page" />