17.13. PaymentSense
PaymentSense is a UK-based payment system that provides credit card payment services primarily to smaller merchants. Kartris includes a plugin for the PaymentSense 'Hosted Integration' method. This is a remote-type payment system where the transaction occurs on the payment vendor's own secure gateway pages, and a POST is made back to your Kartris site to notify it of the result.
17.13.1. Setup within Kartris
Go to Configuration > Payment and Shipping Gateways and click to edit PaymentSense.
Enter the various acccount details given to you by PaymentSense. You may have both test and live account details, so ensure you don't mix these up. We suggest first configuring the test details, setting the status to 'test' in Kartris (this will only show the payment option for PaymentSense at checkout if you are logged in to the site as an admin) and then running through some tests with the test card details available from PaymentSense.
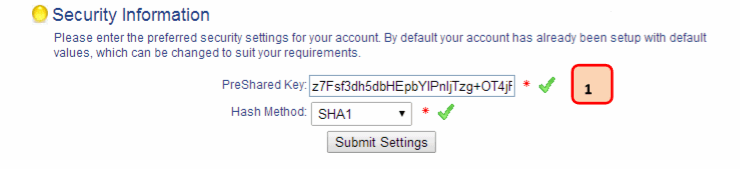
In older installations (up until Kartris v2.9012), the hashmethod was hardcoded into the plugin as MD5. From v2.9013 onwards, the default is SHA1, though this is changeable through a new setting called HashMethod, within the PaymentSense settings in the Kartris back end.
The PostURL may be different depending on which processor you signed up from. This is the location of the payment form on the vendor's site where the user is redirected in order to make payment.
17.13.2. Setup with PaymentSense
See PaymentSense's own documentation regarding setup within their admin area.
Make sure that the hashing type matches the Kartris plugin version you are using. You can check the version of the DLL you have by navigating to it in Windows explorer, right-clicking and choosing 'properties', then viewing the details tab. Newer versions of Kartris also show this DLL version number within the list of payment systems.
If it's the older DLL (v1.x), then you should use MD5. If it's the newer v2.x DLL (introduced in Kartris v2.9013) then use SHA1 (if using this version, your Kartris should have a 'HashMethod' setting withing the PaymentSense settings).