2. Setup
There are two main scenarios for setup – local and remote. 'Local' means installation on a computer you have full access to such as your desktop or laptop computer, or a server if you have full admin rights. 'Remote' means a computer you can only access via FTP and MS SQL.
2.1. Prerequisites
You must have the following software installed in order to run Kartris.
- IIS7.x (Windows Server 2008 or Vista) or IIS8 (Windows Server 2012 or Windows 8 or above)
- MS SQL 2008 R2 Express or above (available free from Microsoft's web site) or one of the full versions of MS SQL 2008 or above
- ASP.NET 4.6+
For best performance, a modern browser such as Firefox, Chrome, Safari or Edge for the back end. The front end still supports versions of Internet Explorer still under support.
2.2. NuGet
NuGet is a Microsoft run service that allows you to import packages from an online repository, directly into Visual Studio. This is probably the easiest way to get hold of the latest Kartris code to set up a new local version for development.
2.2.1. Setup a new web project in Visual Studio
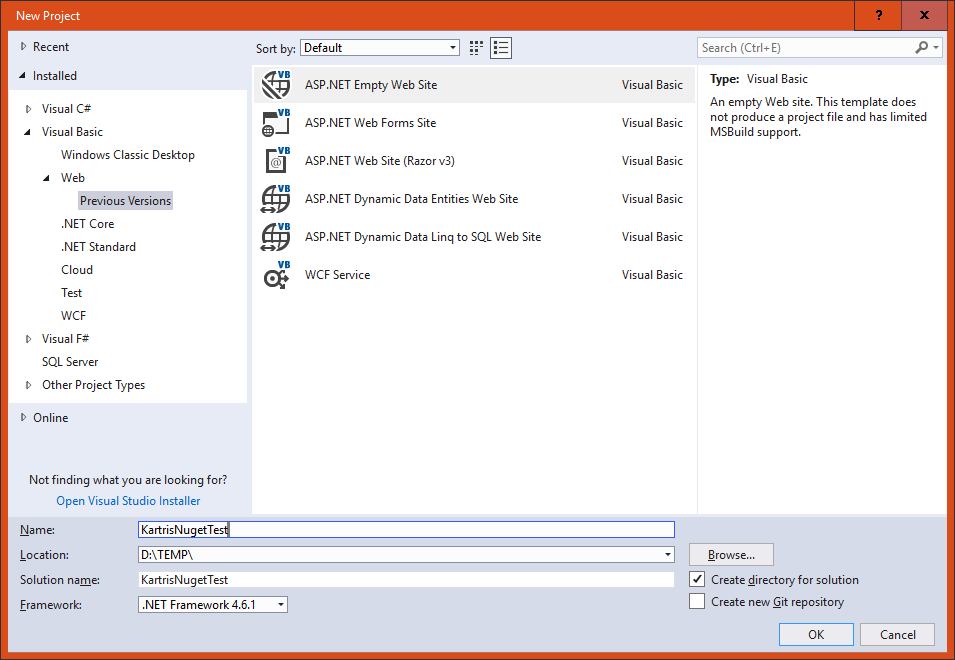
Select Installed > Visual Basic > Web > Previous Versions from the left hand panel.
Then choose ASP.NET Empty Web Site in the main content area, and choose a name and location for your project. The version of the framework isn't so important, as that should be set later when we pull the files in. But you must have at least .NET 4.6 installed.
Next, remove any files and folders that Visual Studio 'helpfully' adds to the web site, so it really is empty.
2.2.2. Install from Nuget
Select Tools > NuGet Package Manager > Manage NuGet Packages for Solution.
Click the 'Browse' link/tab, then type 'Kartris' in the search box. You should find the Kartris package.
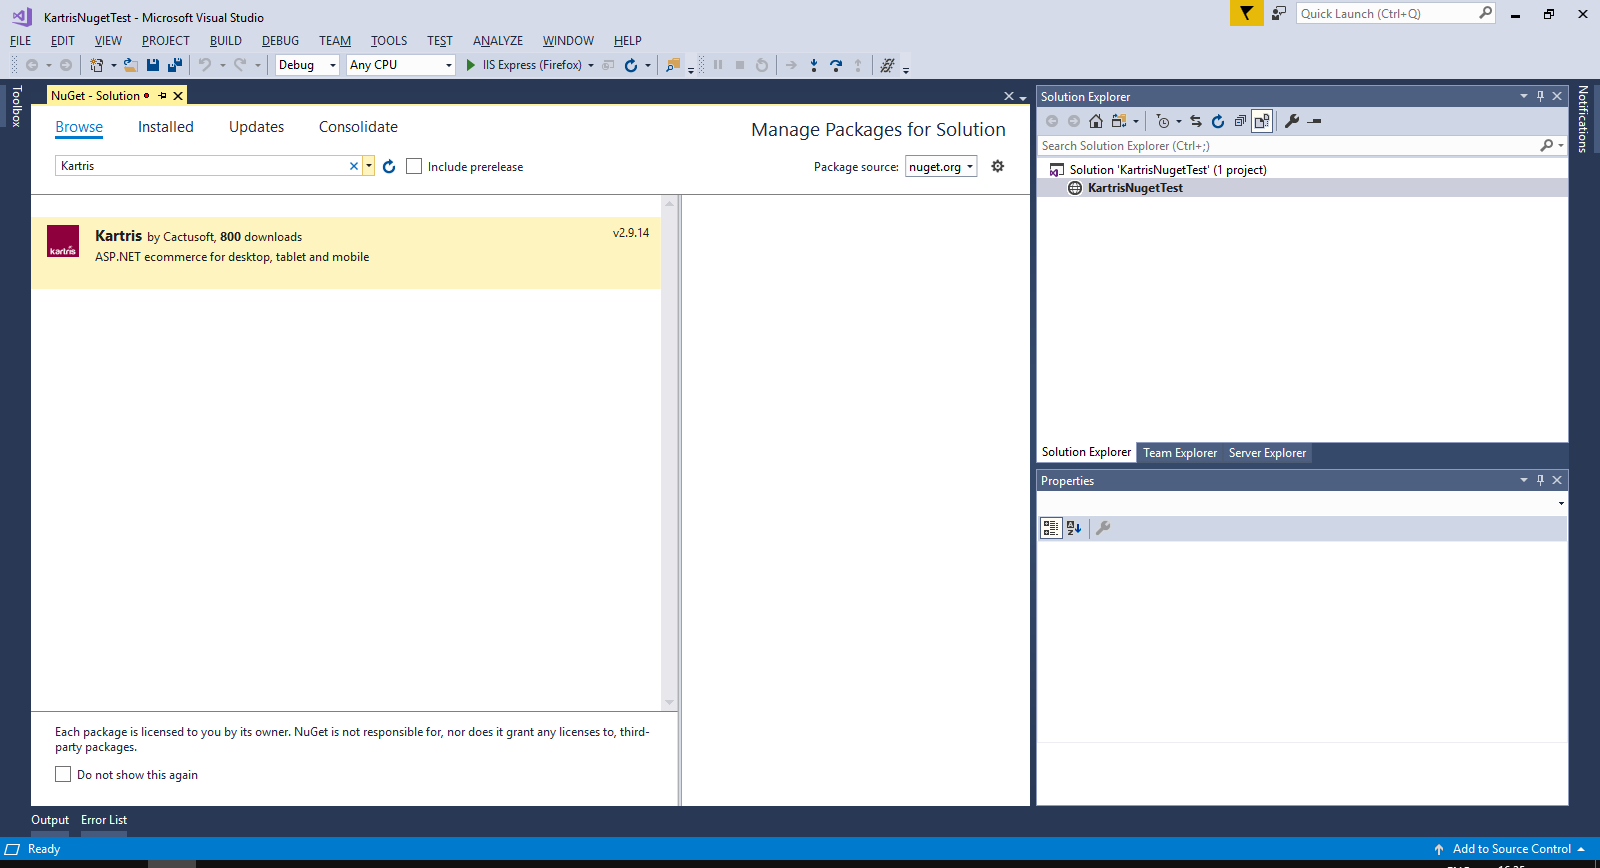
Click to select this, then check the box to install to the project you've just set up. Click the Install button.
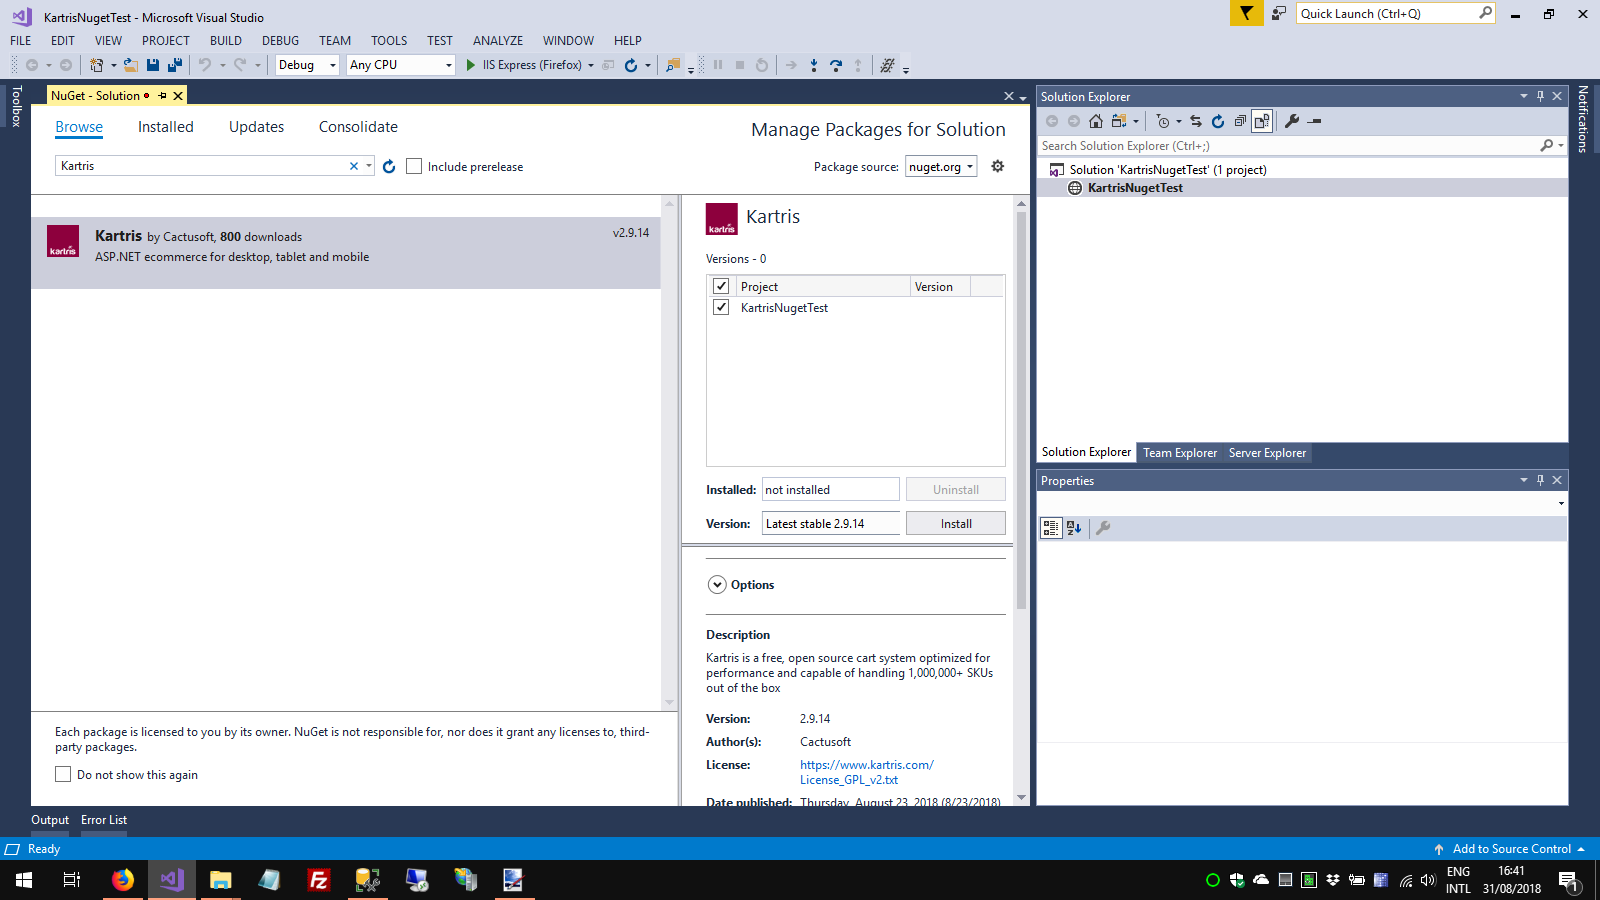
Visual Studio will show you a list of dependencies. Click OK to proceed with the installation. You will also need to approve some licenses for dependencies. The required Kartris files will then be downloaded to your web.
2.2.3. Setup routine
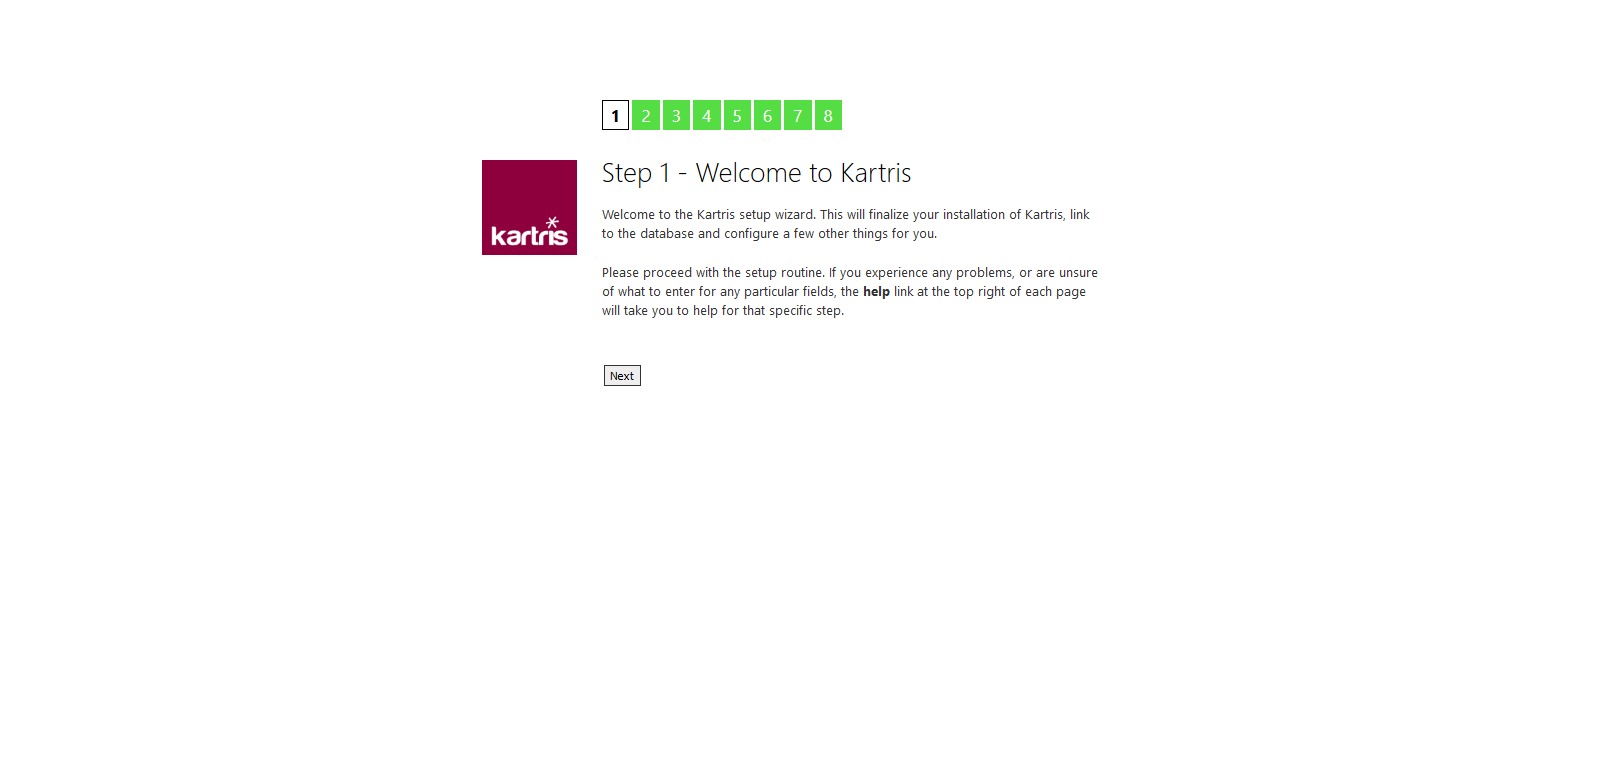
In Visual Studio, click to run the web site. You will get a warning that there were errors (this is because we don't yet have a database). Click YES to run the last successful build. You should see the setup routine in your web browser.
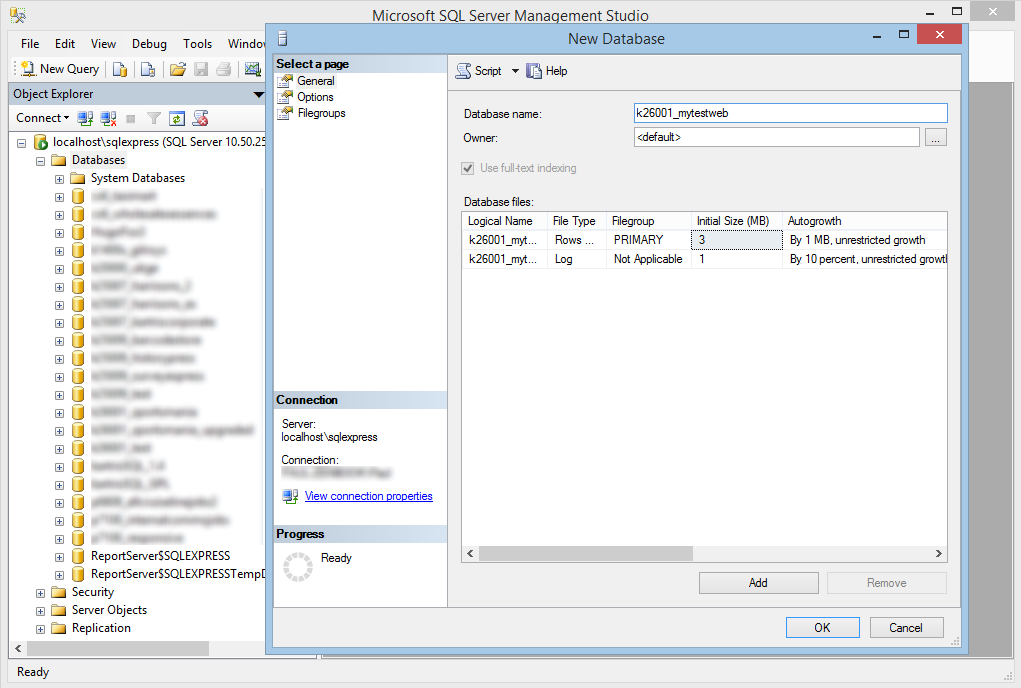
Follow the steps through. You will get to a step that lets you setup a database. Specify the path to your SQL Server, choose a database name and select that this is a new database, and Kartris can create and populate this for you. The checkbox to add demo data adds a few sample products and orders, which make it easier to test the basic features, and can easily be deleted later.
Installing the database can take a few minutes. Once done, you should see the admin account details that the setup routine created for you. We suggest you make a note of these now somewhere safe. You can change the password later if you wish, from within the Kartris back end.

Once you get to the end of the setup process, you should see two links, to access the front and back ends of Kartris.
The setup routine will make changes to the web.config file, to include the connection string to the new database and some other minor changs.
2.3. Manual installation
2.3.1. Download the software
Our site downloads page has links to download the latest zip:
https://www.kartris.com/t-Downloads.aspx
The software itself comes as a zipped file.
If you want to obtain the very latest up-to-date code, you can go to the source repository on Github (this may contain development code, unfinished work, bugs and other issues, so the version zips on our downloads page are strongly recommended).
Don't forget to unblock any zip files you download before you unzip them. More information...
2.3.2. Installing
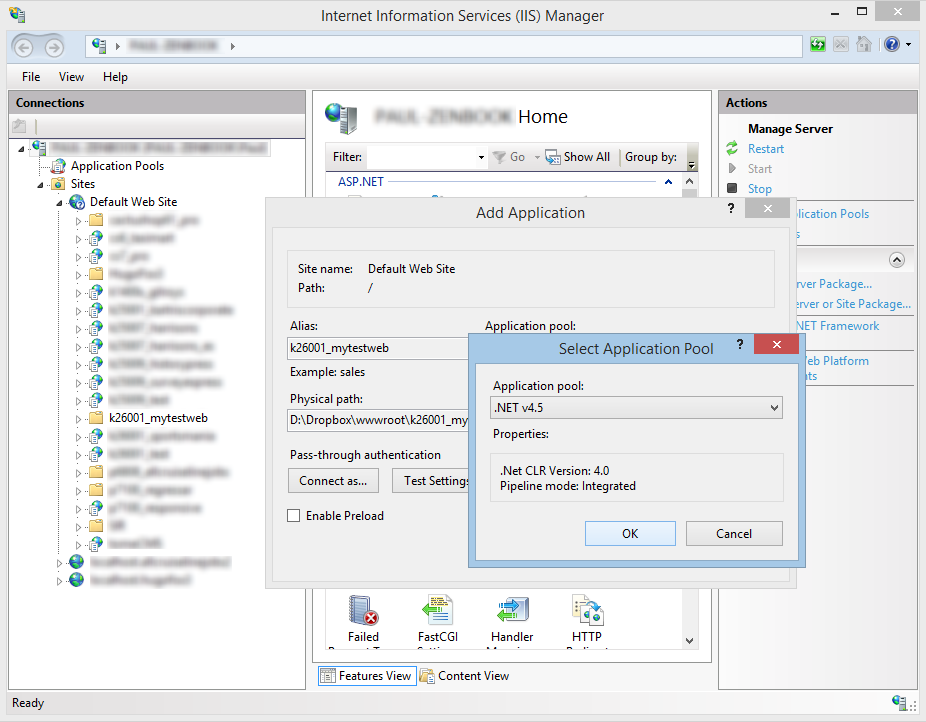
2.3.2.1. On IIS 7.5+
The process on IIS7 and earlier will be similar, the main difference being that the web site will run as a specific Windows user rather than an app pool identity. So you will need to add that user to your SQL Server, and create Windows permissions for it.
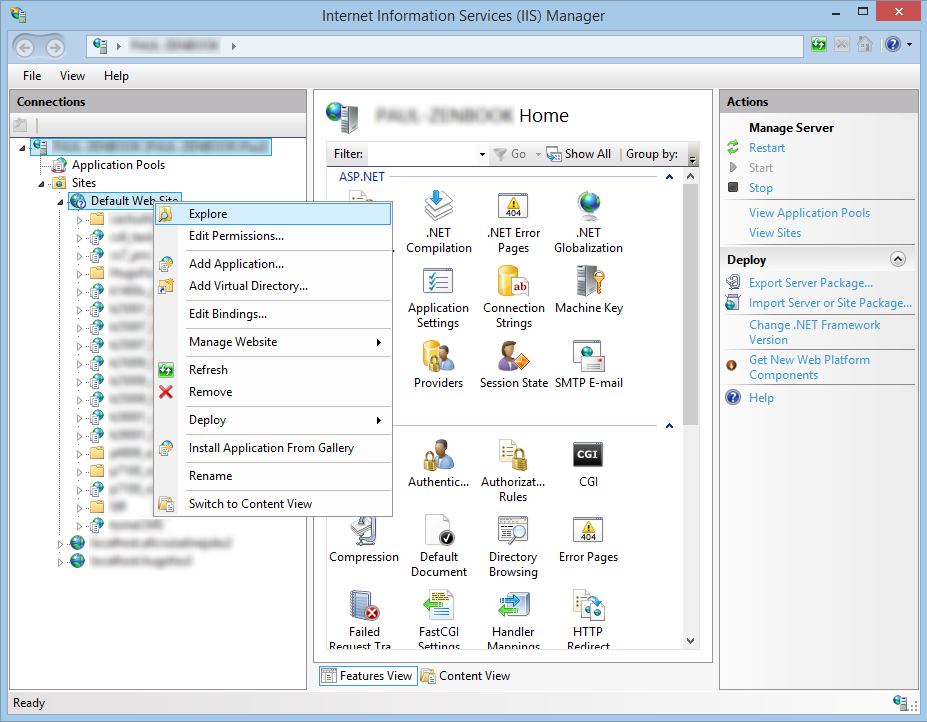
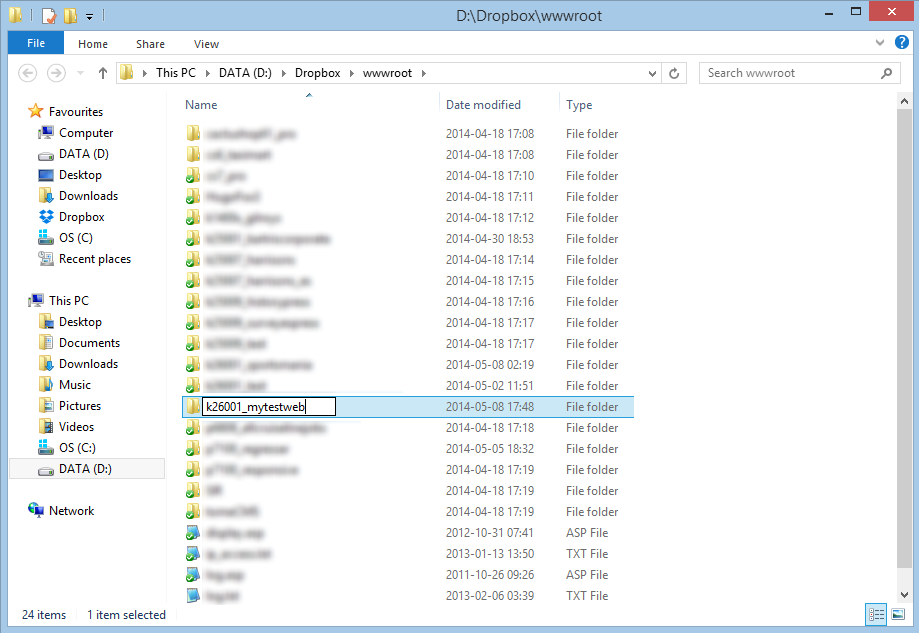
Step 1 - Find where your IIS web root folder is and add a new folder into it. If you're not sure where it is, go to IIS, right click the Default Web Site and select 'explore'. The default location is normally C:\inetpub\wwwroot, but you can move this to another location for disk space reasons, or locate it into your Dropbox if you want files to be backed up to the cloud.
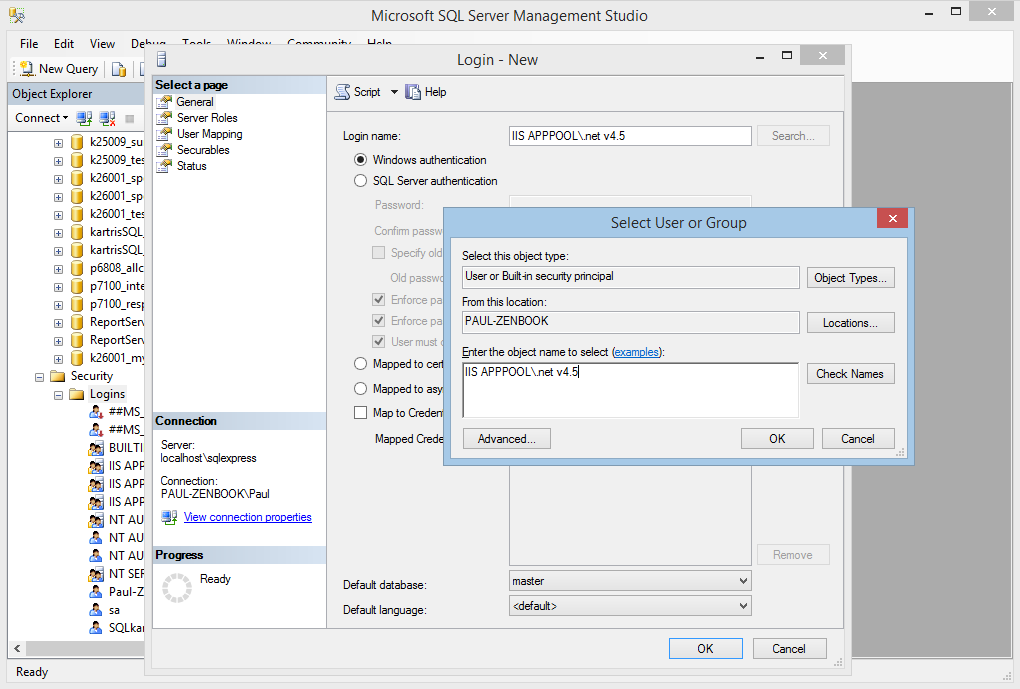
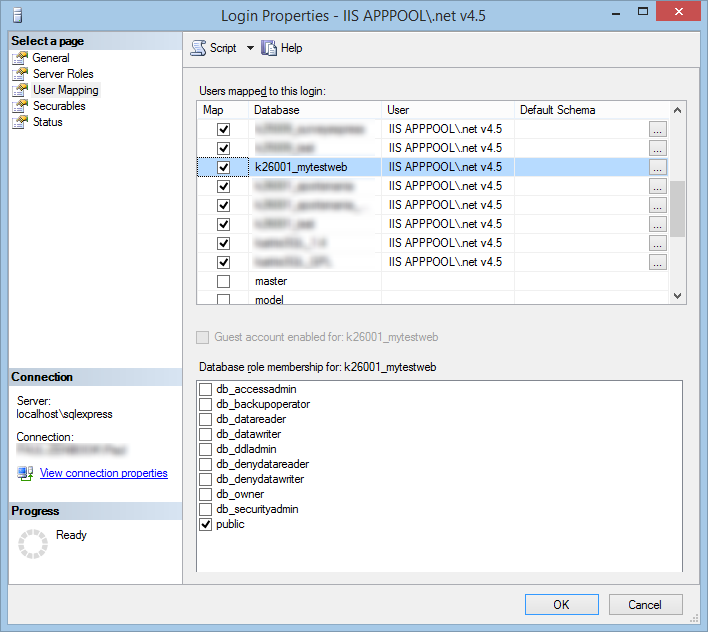
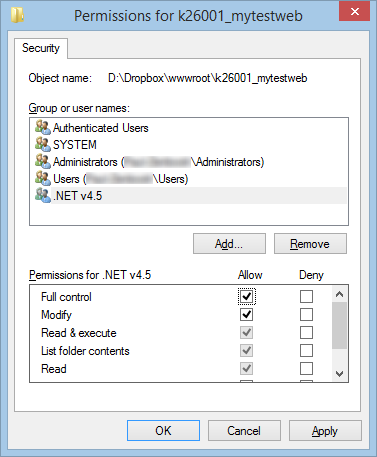
To find users on this database, open up the 'Security' folder in SQL Management Studio and then 'Logins'. If you don't see 'IIS APPPOOL\.net v4.5' (or whatever the name of your app pool is), then you need to add it. If you see the user there already, you can skip to the next step. Otherwise, right click on 'Logins' and type the name of the app pool into the dialogue, then 'Search'. Another window appeals, and you need to enter 'IIS APPPOOL\.net v4.5' again into the box here. When you click 'Check names' you should see the text change, hiding the IIS APPPOOL part. This indicates that it is a valid user. OK everything, and this new user should now appear under 'Logins' in the treeview.

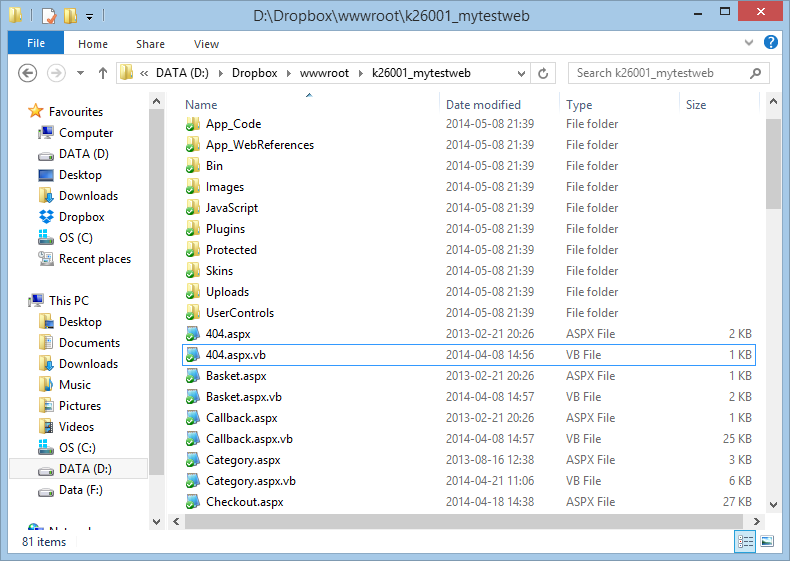
To do this, find the web root in Windows explorer, right click the k26001_mywebsite folder, and select 'properties', then the 'security' tab.


2.4. Microsoft Web App Gallery
Kartris is featured within the Microsoft Web App Gallery. Various Microsoft Tools including IIS.
Kartris - Microsoft Web App Gallery
2.5. Installing Kartris on web space
- Unzip Kartris to a folder on your desktop. Using FTP, upload the files to your web site.
- Make
sure your hosting is set to run as ASP.NET
4.0.
- Call up the site in your web browser, and the setup routine should run.
- When you get to the stage to setup the database connection, you will probably need to use the database address (or IP), name, username and password given to you by your web host. The install routine will try to rewrite your web.config file with these connection details, but if the permissions do not allow this, you can download it from the setup routine and then upload to the root of your site with FTP instead.
- If you get problems running the database
setup and want to create the database first through MS SQL's
Management Studio interface, the .sql file is located here:
Uploads/Resources/kartrisSQL_MainData.sql
When you run the setup routine again, it should notice that you already have a Kartris database populated. - Once setup and
logged in to the back end, you can go to the front end by clicking the
Kartris logo link in the top left of the
page.
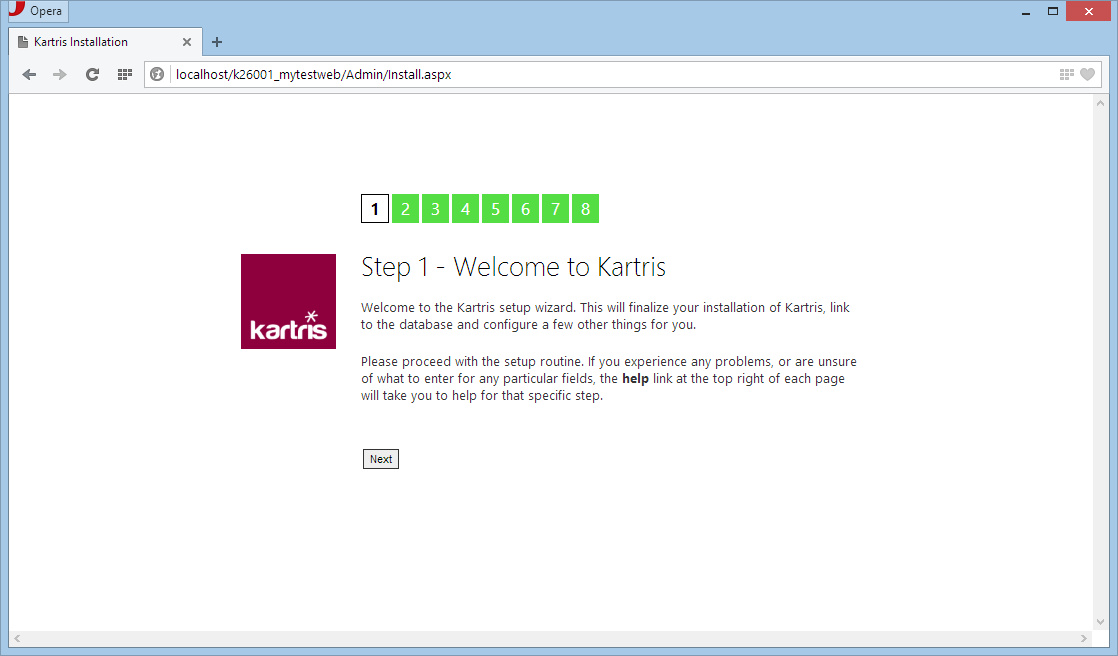
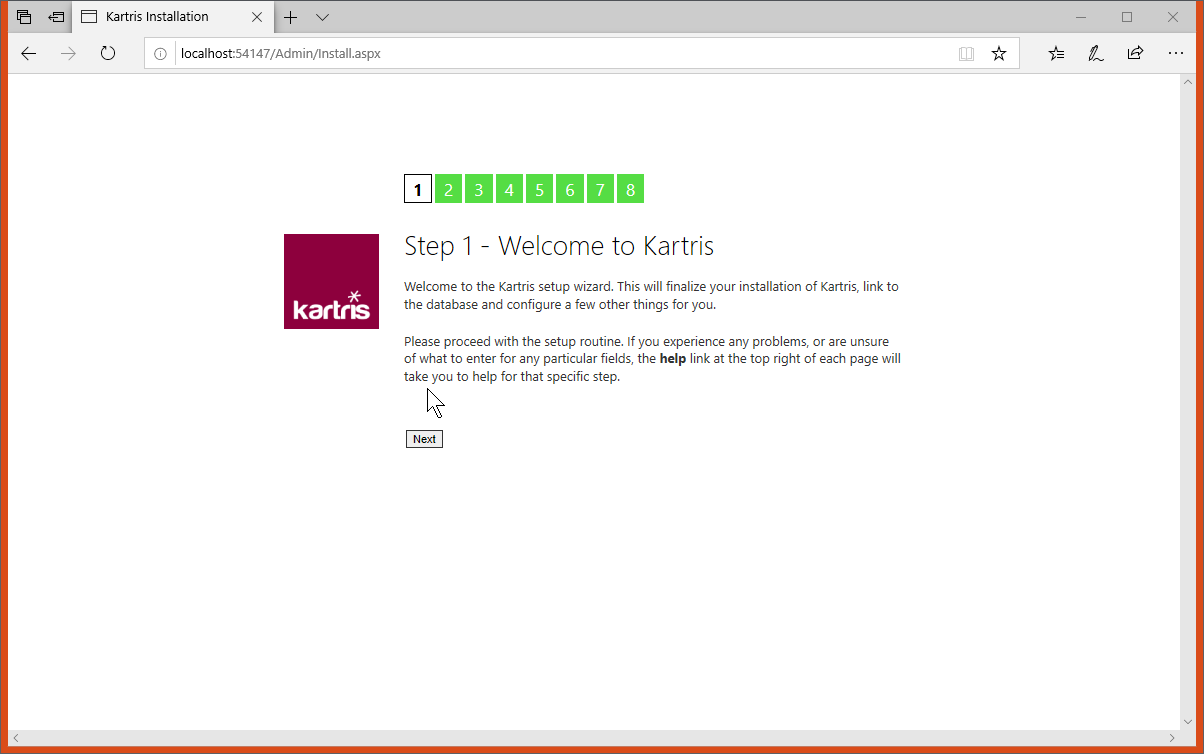
2.6. Install routine
The install routine is a series of setup screens that displays in your browser when you first upload files and successfully run Kartris. This sets some basic settings and creates an admin login password too. The steps are as follows:
2.6.2. Installation - Step 2: Hash Salt Key
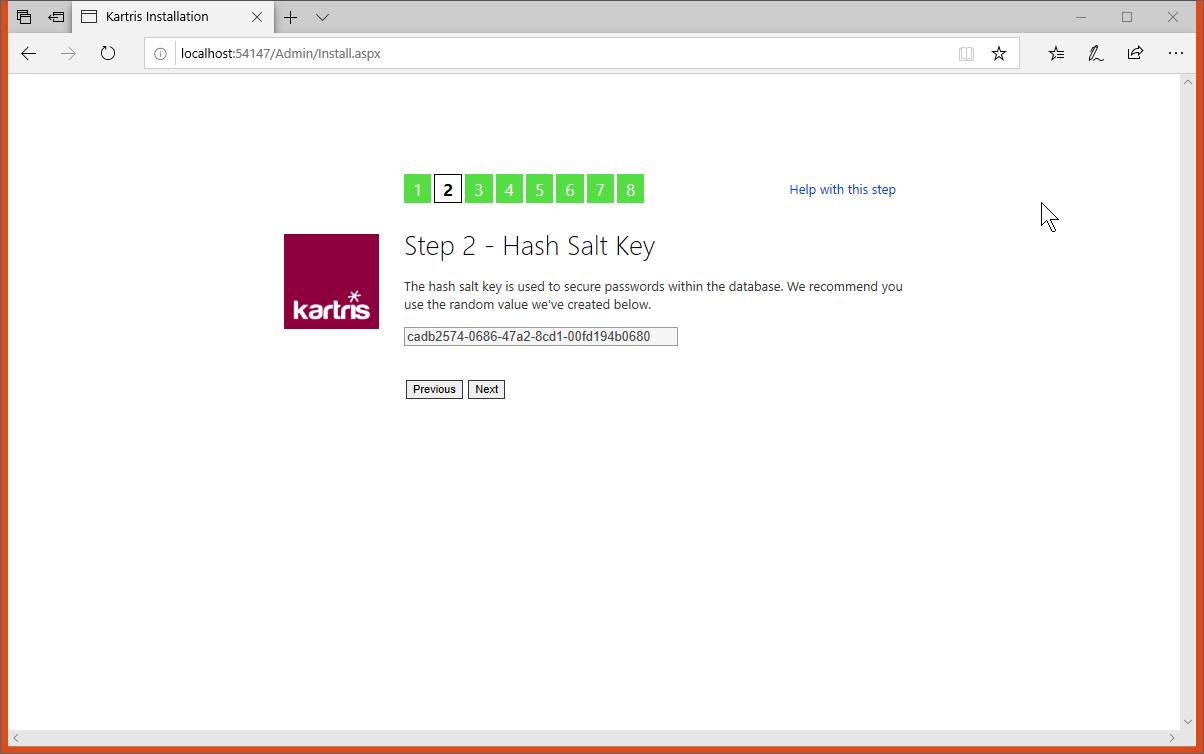
For security, Kartris secures passwords for both admin and user accounts by "hashing". For a new installation, just click to proceed here and accept the new random hash salt value we've created.
For more information about Kartris's password security, see @18.4. Password security .
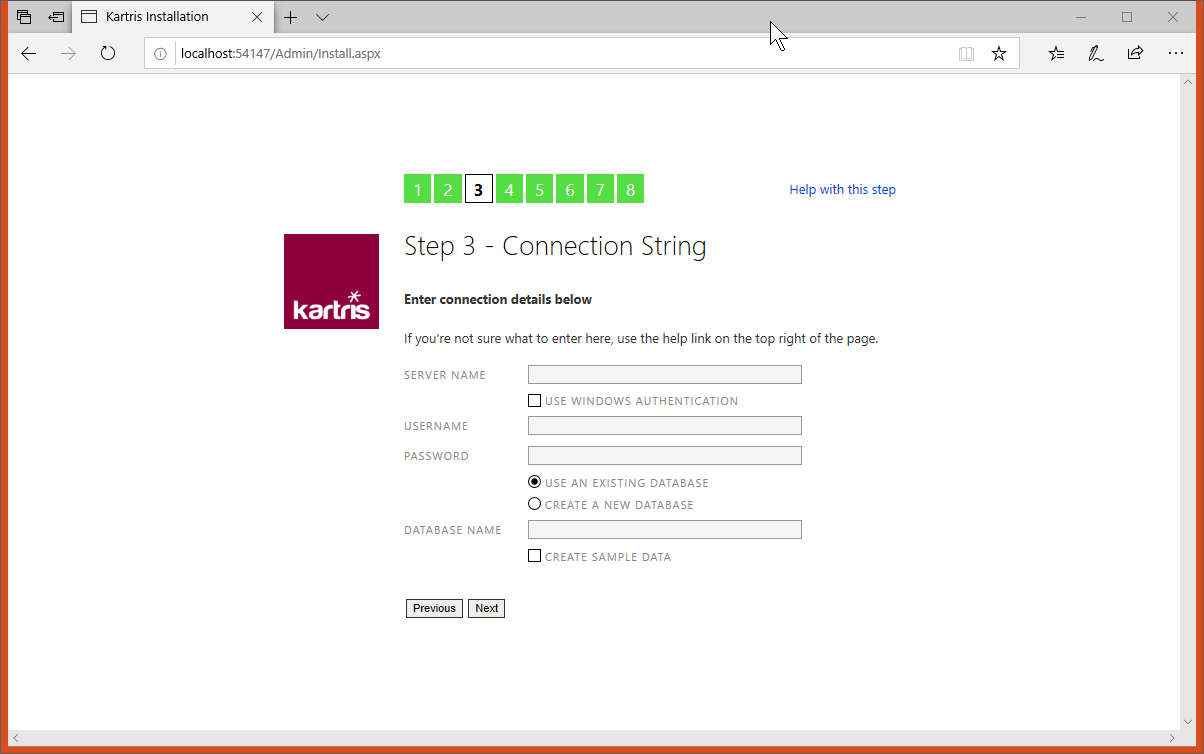
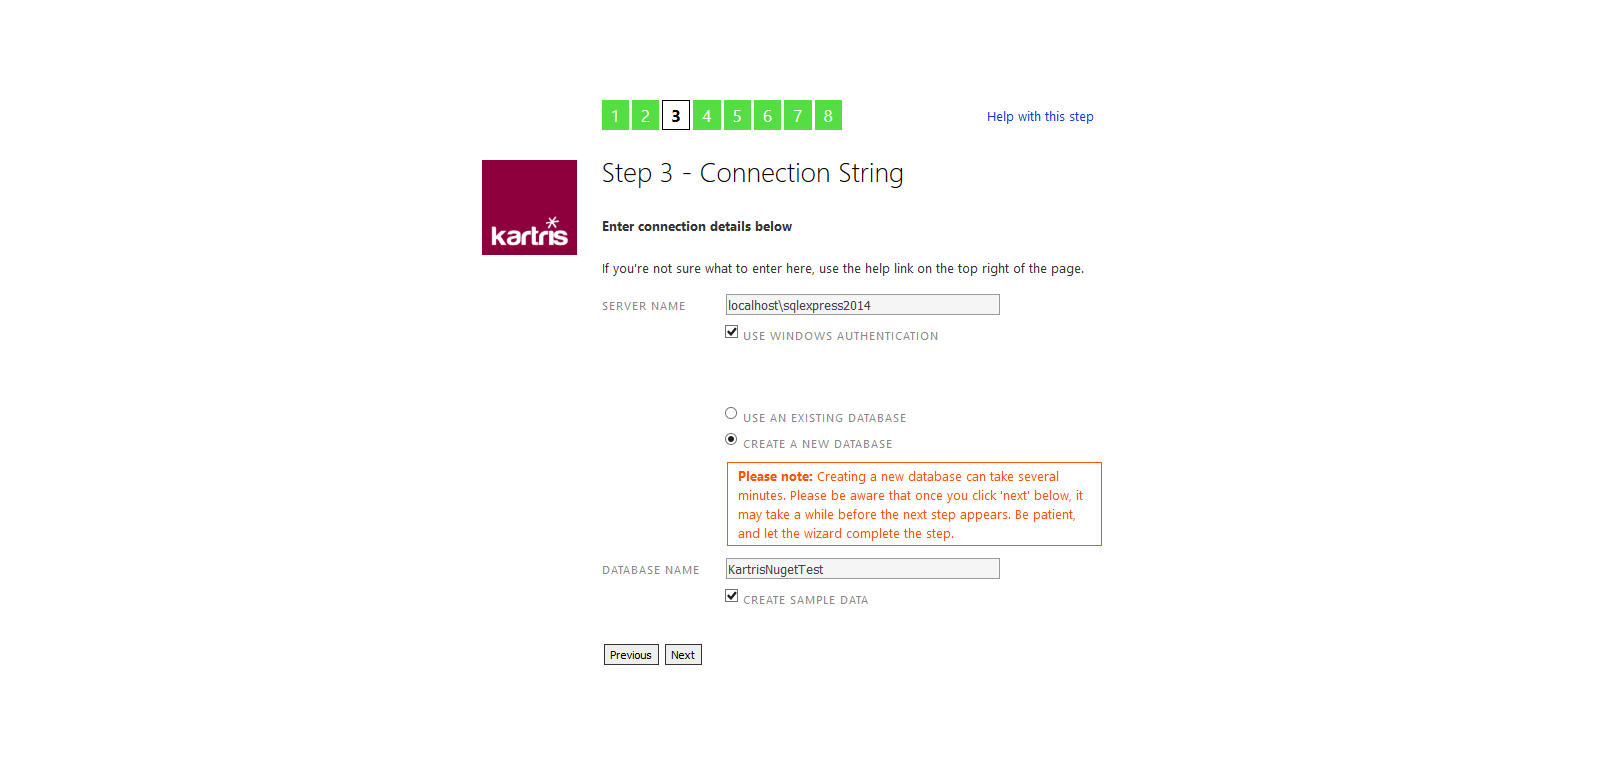
2.6.3.1. Server name
If you want to double check the name of your MS SQL Server instance, you can open up Microsoft SQL Server Management Studio (from your programs menu in Windows) and then check the name shown there. If your database server is running on the internet, or on your network, it might have an IP address or another name. It will normally be something like this:
localhost\sqlexpress
2.6.3.2. Use Windows authentication
Where you have the MS SQL and web server running on the same machine, and if you're developing in Visual Studio, you can use Windows authentication. There is no username or password stored in the connection string; the web server app pool account should have permission to access the database. If you are using Visual Studio, in most cases that user has admin permissions for databases, so you should not specifically need to set it up.
2.6.3.3. Use existing/new database
Generally it is best to set up the database manually first on your MS SQL Server, and then enter the name here. It is also possible to create a database too but it requires sufficient permissions. If you're running in Visual Studio, it should have sufficient permissions to create a new database.
2.6.3.4. Create sample data
Even if you don't check this box, we add a lot of required data into your Kartris installation such as config settings, language strings and so on. But if you'd like to have a little test data in your new site such as categories, products, customers and orders, check this box. You can easily remove this test data later.
2.6.4. Installation - Step 4: Set Up Database
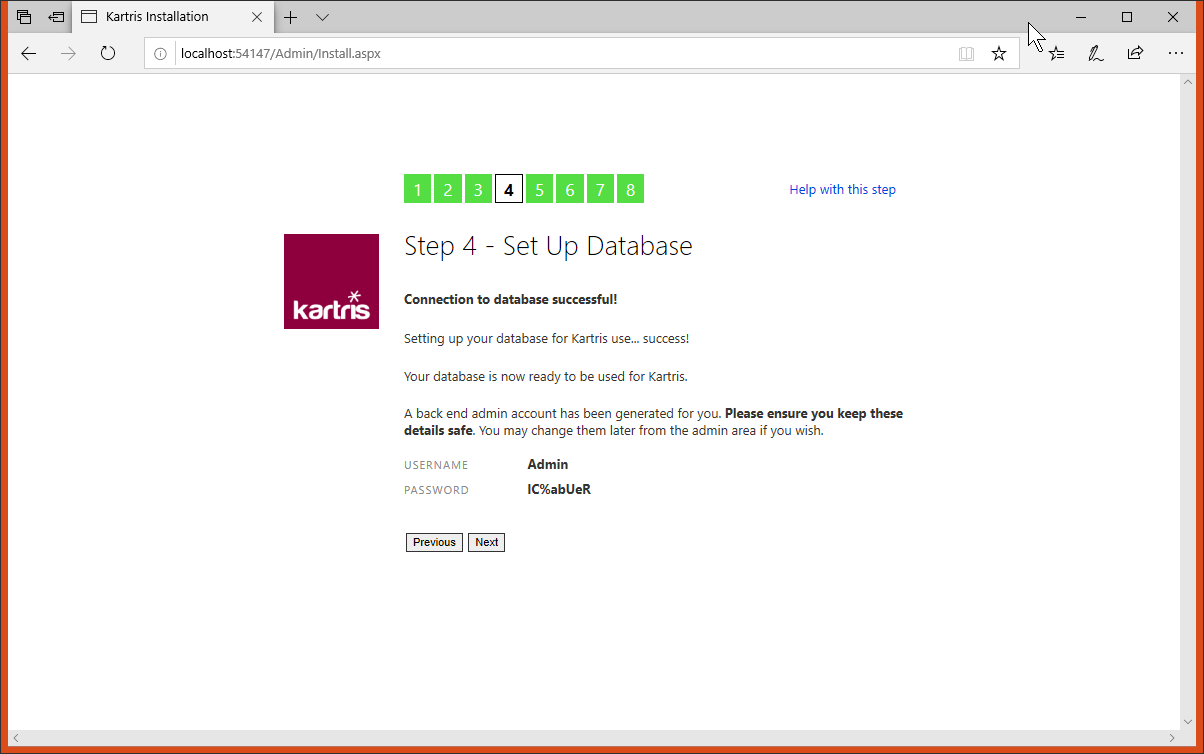
If the permissions are right, Kartris will connect to your database, run any setup scripts to create the database structure and stored procedures, and will generate an admin login. Copy and paste these details somewhere so you can access the store when setup is complete. You will be able to change the admin password or create other admin user accounts later.
2.6.5. Installation - Step 5: Important Config Settings
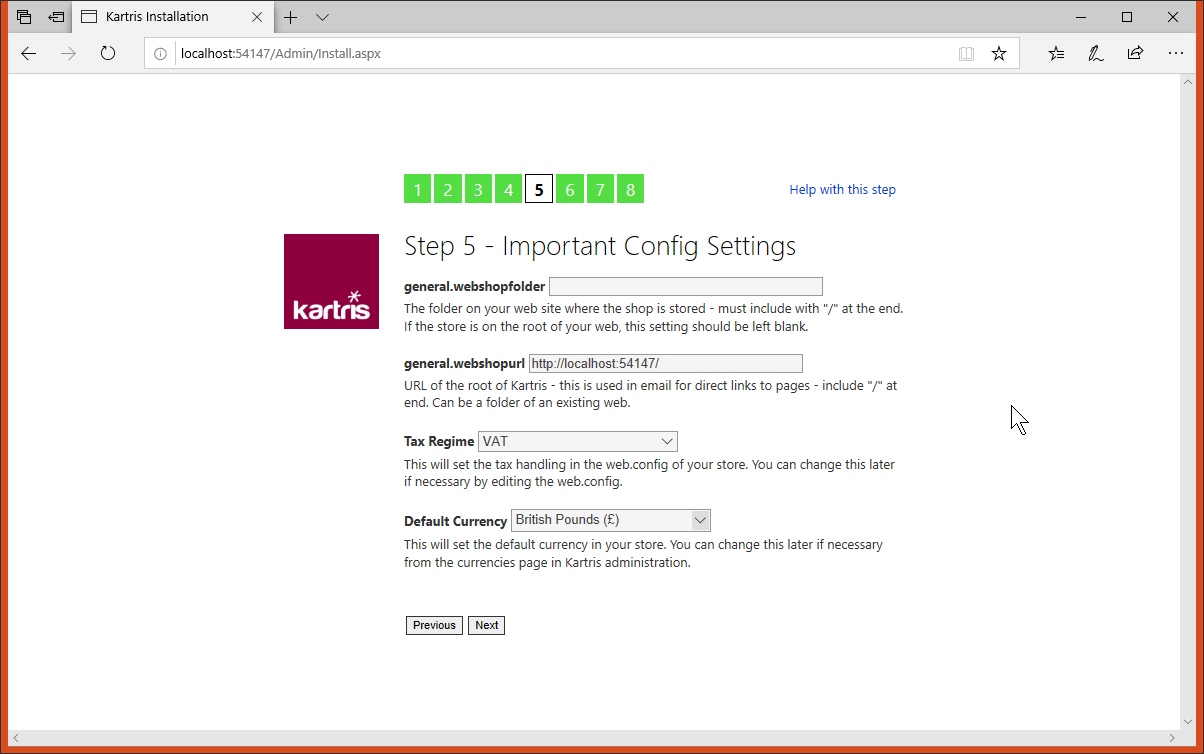
Kartris should automatically pick up the web address you're using. You can also choose a tax regime and default currency.
2.6.5.1. Tax regimes
2.6.5.1.1. VAT
This option is for countries that have a VAT tax system, outside of the EU. The UK, post brexit (most likely) and New Zealand can use this option, for example. Tax is calculated based on a percentage figure for each line item in an invoice, and then at the end you get a total for the goods, the tax, and a grand total.
2.6.5.1.2. European Union
This works similarly to the @2.6.5.1.1. VAT option above, but has some extra features. Because the EU consists of nearly 30 countries, it will set all of them to charge tax (based on the TaxRegime.config file in the root of the web, which contains a list of all EU members). VAT will be added to all orders from an EU country. But if the country is not the home country of the site, a VAT number field will show. If a valid EU VAT number is entered here, the VAT will be zeroed as the customer would declare this purchase and pay VAT in their own country at the prevailing rate.
2.6.5.1.3. US
This is a simple sales tax system where tax is calculated as a percentage of the order value, rather than on individual items. You can set the tax rates of multiple states so if you have locations in multiple locations, orders will pay the correct amount. In states where sales tax varies by county, you can also add in those locations and have the appropriate tax rate for each (this would be done after the tax setup wizard has done the basic setup).
2.6.5.1.4. Canada
Canada has a sales tax system with two taxes, GST and PST. In some provinces, these are combined into a single HST amount. If Canada tax is selected, there will be two tax amounts configurable for each item.
2.6.5.1.5. Other
This creates a simple % sales tax to be added at the end of an order. In most cases, you will find one of the above models may more closely resemble your country, in which case it would be better to select that model, and then make country changes manually later.
2.6.6. Installation - Step 6: Folder Permissions
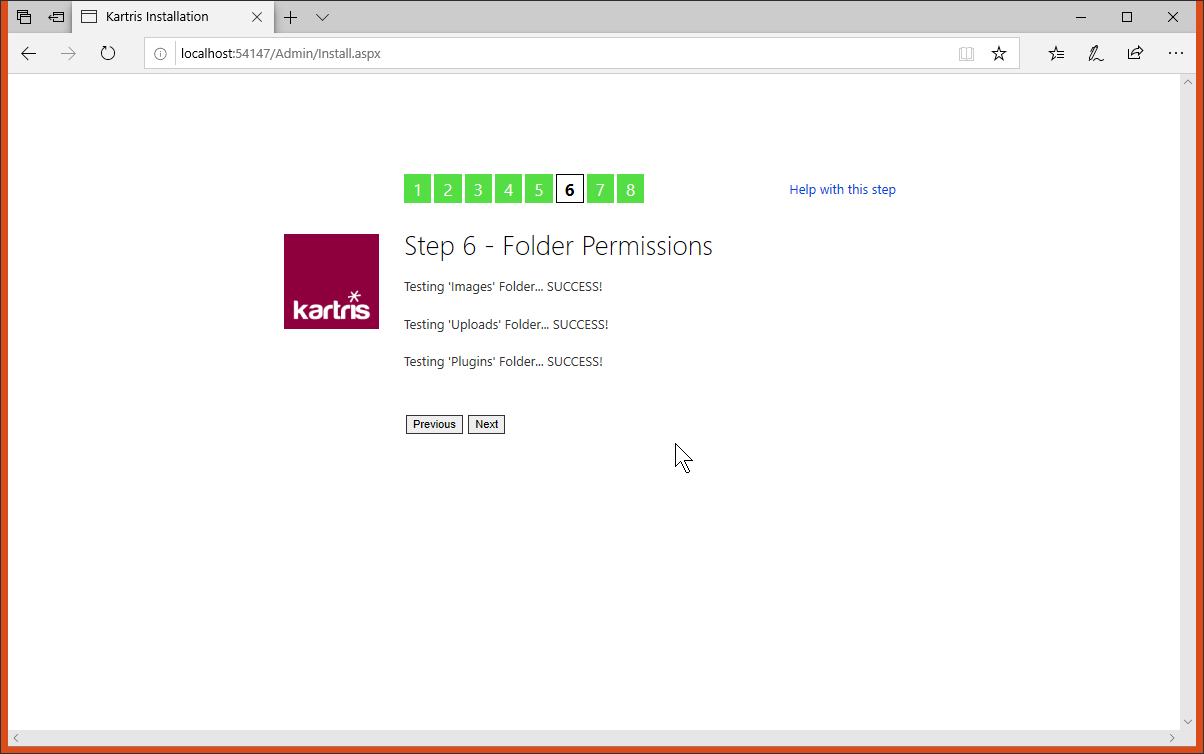
The install routine will check write permissions to ensure it can operate properly. These permissions are required to ensure you can upload images, and logs of errors can be created, for example.
2.6.7. Installation - Step 7: Review Settings
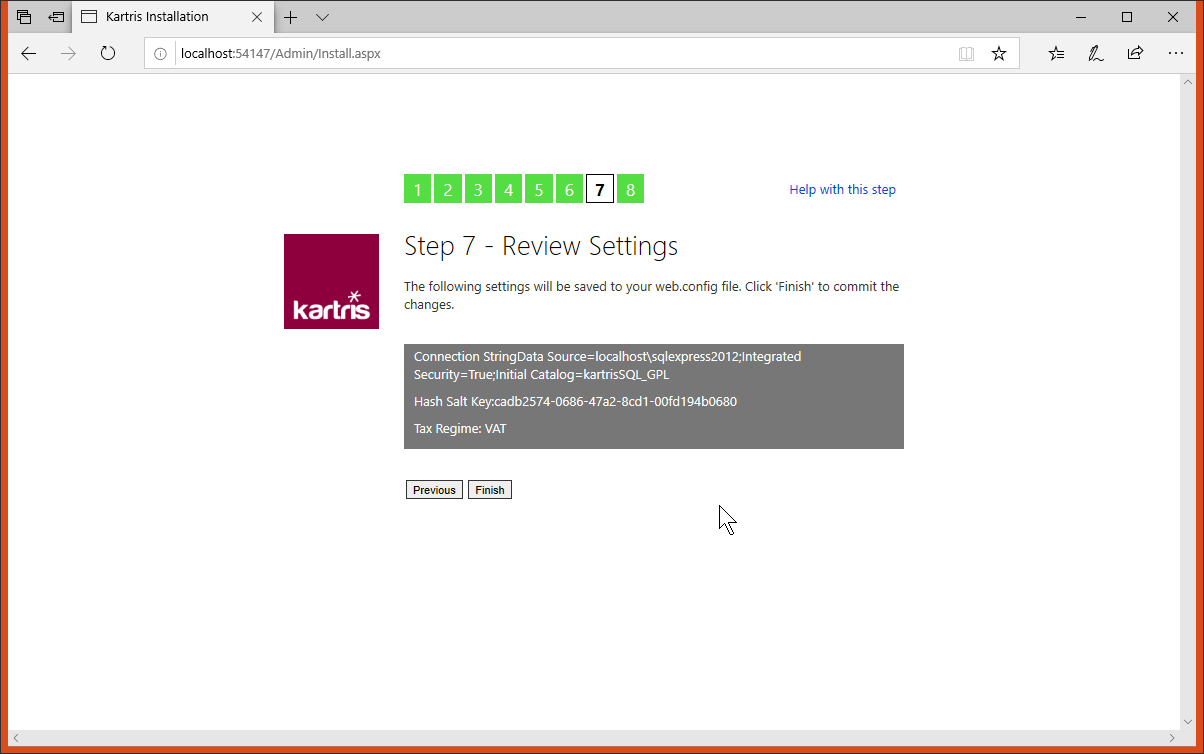
The install routine will show you the changes it will make to the web.config in order to set the database connection up. It will also change the resource provider (via the globalization tag) so the software will use the database for language resources rather than the file which is used by the install routine.
If Kartris cannot write/modify the web.config file, it will give provide a link for you to download the new edited file. You will then need to load this to your site, via FTP or just copying and pasting (on a local site). You may need to restart the site if the file is locked. Generally the site will restart after the web.config is updated.
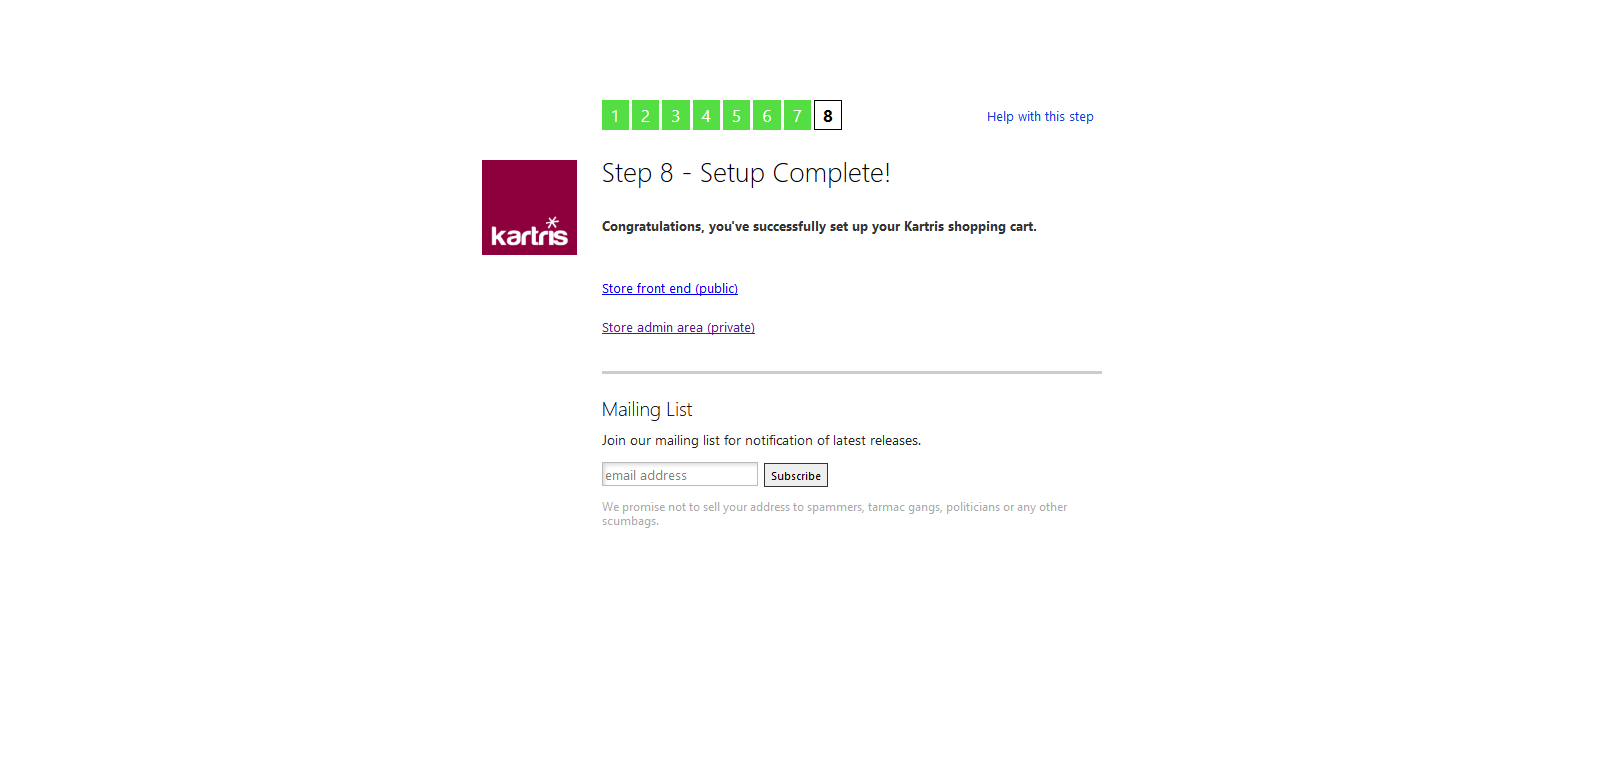
2.6.8. Installation - Step 8: Completion
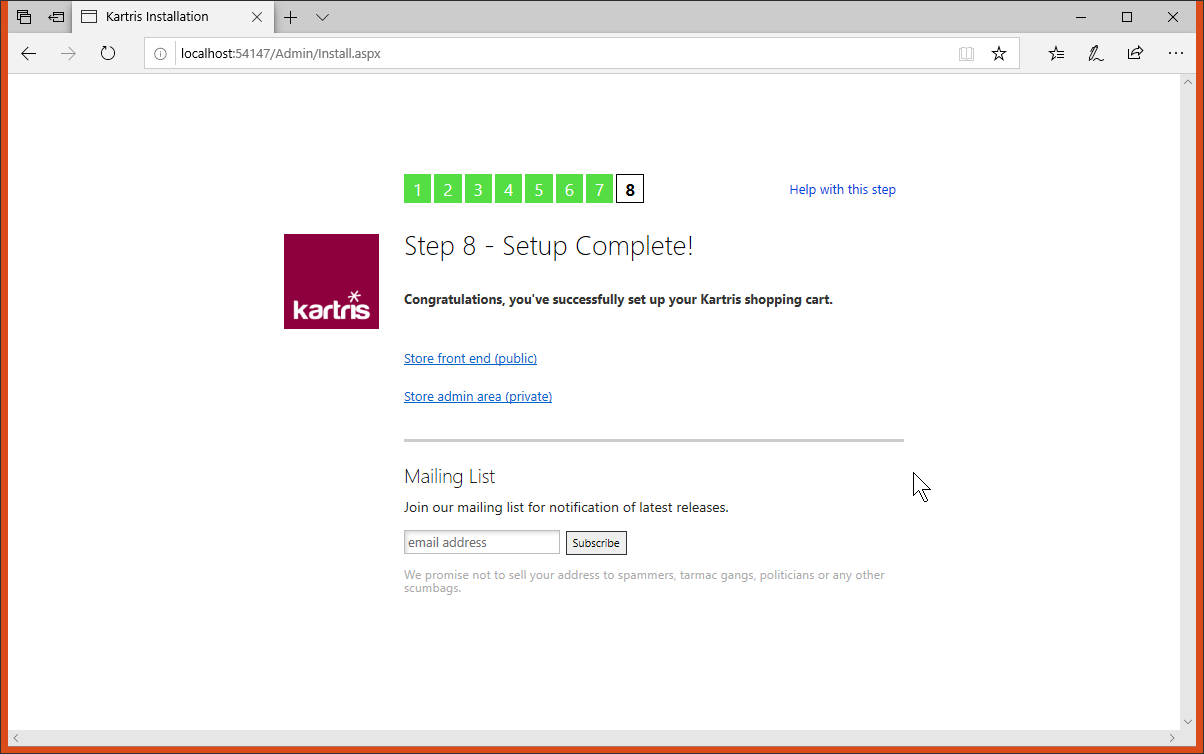
If all went ok, you should see a link to the front end back ends. It may be a little slow the first time you access Kartris after it is first installed, or the server restarts. But once loaded, it should be responsive and fast.
2.7. Forcing the install routine to run again
<add name="KartrisSQLConnection" connectionString="Data Source=localhost\SQLEXPRESS;Database=BadDBName;Integrated
Security=True;connect timeout=50" providerName="System.Data.SqlClient"/><!--<globalization resourceProviderFactoryType="Kartris.SqlResourceProviderFactory"
culture="auto" uiCulture="auto" enableClientBasedCulture="true"/>-->2.8. Upgrading
If you wish to upgrade an existing Kartris site to the latest version, then you need to proceed as follows:
- Download and install the latest Kartris to a new web.
- Create a new database by restoring a backup of your old Kartris database.
- Run the update SQL scripts on the database with SQL Management Studio to take it up to the latest version. These scripts are located in the new Kartris web, at this location:
/Uploads/Resources/
You need to run the scripts necessary to take your database from its present version, to the latest version, in the right order. For example, if upgrading a v1.4001 to v2.5003, you would need to run these SQL updates on the database in this order:
UpdateSQL_1.4001_To_1.4002.sql
UpdateSQL_1.4002_To_2.0000.sql
UpdateSQL_2.0000_To_2.0001.sql
UpdateSQL_2.0001_To_2.0002.sql
UpdateSQL_2.0002_To_2.5000.sql
There is not necessarily an SQL script for each Kartris release; one is only required if there were database changes. So in this case, we've upgraded the database to v2.5000, because that is the latest version of the database. Similarly, if you were upgrading v1.4004, you would need to start with the UpdateSQL_1.4002_To_2.0000.sql upgrade script, to ensure you get all the required changes.
You may get errors show up in the console during the upgrade process, but generally you can ignore these. It's normally because you have new language strings or config settings already for some reason, and so trying to add these in fails. But everything else should still be able to run, and since you have the required records already, there should be no problem. - Hook up your new web to the new upgraded database. To do this, edit the web.config file to make the following changes (a) database connection (b) ensure that the 'globalization' tag is uncommented (see @2.7. Forcing the install routine to run again for more details).
- You should also copy the 'hashsalt' value from the app settings near the top of your new site web.config file. If you don't do this, you may find your back end login no longer works.
- You should now be able to import your old skin to the Skins folder, and set up your site to use this from the back end.
- If you changed any user controls or code in your prior version, you can try to import this to the new site. But be aware that they may not be compatible, or that by importing older files, you may lose newer functionality which we've added to the new version.
- Other parts of the old site that will probably need to be imported too:
- Images folder, Uploads folder (except Logs, Resources, Temp)
- the .sitemap files in the root (these format navigation menus on your skin as well as breadcrumb hierarchy)
- any robots.txt in the web
- the .config files from any payment systems you have setup, these are stored in the relevant folder within /Plugins and hold the payment gateway configuration for that payment system).